Driving nails into concrete may seem like a daunting task, but with the right techniques and tools, it can be accomplished effectively by hand. Whether you’re hanging a picture frame, installing a shelf, or building a small structure, understanding the proper approach to driving nails into concrete will ensure a secure and long-lasting result.
In this article, we will guide you through the step-by-step process, from selecting the right tools to executing the technique with precision.
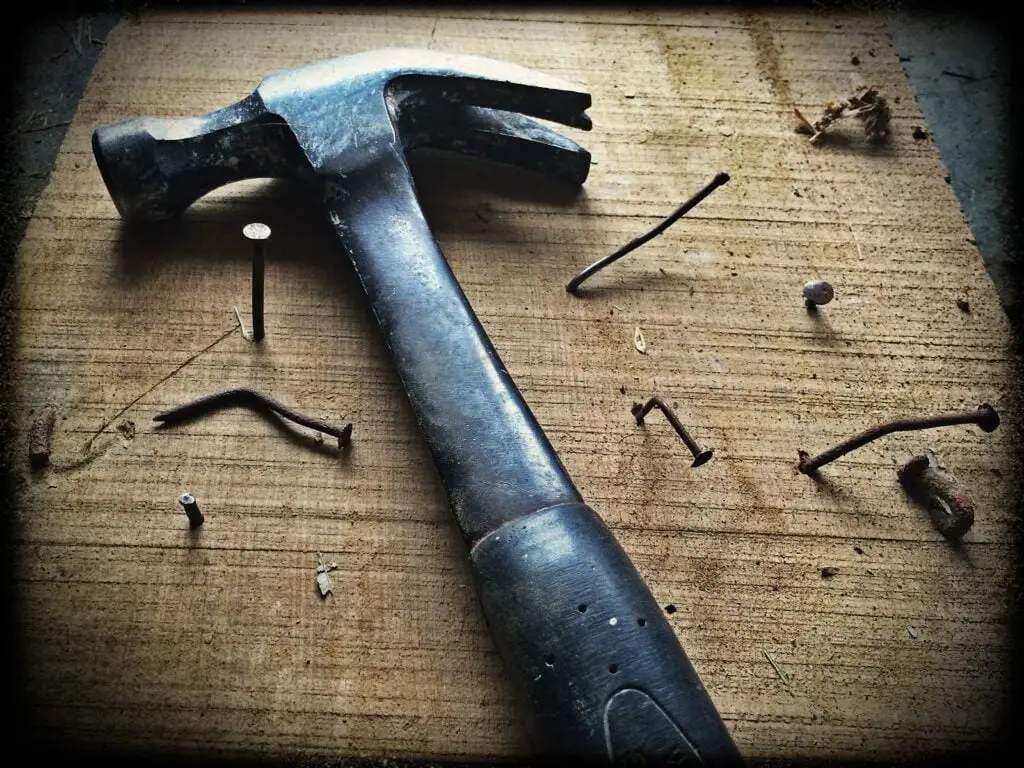
Tools and Materials Required:
- Concrete nails: Choose hardened steel nails designed specifically for concrete applications. They feature fluted shafts or grooves that improve grip and reduce the risk of nail bending or breaking.
- Hammer: Opt for a sturdy hammer with a weight that you can comfortably handle. A 16-ounce or 20-ounce hammer is generally suitable for most concrete nail driving tasks.
- Safety goggles: Protect your eyes from flying debris or nail fragments by wearing safety goggles throughout the process.
- Masonry drill bit (optional): If the concrete is exceptionally hard, pre-drilling holes with a masonry drill bit slightly smaller in diameter than the nail can facilitate the process.
Step-by-Step Guide:
- Preparation: a. Assess the concrete surface: Examine the concrete to ensure it is in good condition without significant cracks or damage that could compromise the structural integrity. b. Mark the spot: Mark the exact spot where you want to drive the nail, using a pencil or a small piece of tape.
- Selecting the Right Nail: a. Nail length: The nail should be long enough to penetrate the concrete surface by at least 1 inch or more. b. Nail diameter: Opt for a nail diameter that suits your application. Thicker nails provide better holding power, but ensure they can be driven into the concrete without excessive force.
- Technique: a. Positioning: Hold the nail firmly between your fingers, positioning it perpendicular to the concrete surface. b. Starting point: Align the tip of the nail with the marked spot on the concrete. c. Gentle taps: Use the hammer to deliver a series of gentle taps on the nail, ensuring it remains perpendicular to the surface. This allows the nail to create a small pilot hole without slipping or bending. d. Increasing force: Gradually increase the force of your strikes, ensuring each blow is accurate and centered on the nail head. e. Final strikes: As the nail begins to penetrate the concrete, increase the force of your strikes while maintaining control to drive it to the desired depth. Avoid excessive force, which could cause the nail to bend or break.
- Finishing touches: a. Verify stability: Once the nail is driven into the concrete, test its stability by gently tugging or pulling it. If it holds firmly, it is securely anchored. b. Repeat the process: Repeat the steps for additional nails, ensuring proper spacing and alignment as required by your project.
Safety Precautions:
- Wear safety goggles throughout the process to protect your eyes from debris and nail fragments.
- Use caution when striking the hammer to prevent injury to your hand or fingers.
- Be aware of your surroundings, ensuring no one is in the immediate vicinity while you drive the nail into concrete.
Conclusion:
Driving nails into concrete by hand is an achievable task with the right approach and tools. By following the step-by-step guide outlined in this article, you can successfully anchor items to concrete surfaces, allowing you to complete a wide range of projects efficiently and securely. Remember to prioritize safety by wearing protective gear and exercising caution throughout the process. With practice and patience, you’ll become proficient in this valuable skill, expanding your DIY knowledge and empowering yourself to tackle various concrete-related tasks with confidence. Remember to always adapt the techniques based on the specific requirements of your project and seek professional assistance if needed.
Additionally, it’s worth noting that for larger or more demanding projects, such as heavy-duty construction or installations, using a powered tool like a concrete nail gun may be more efficient and time-saving. These tools are specifically designed for driving nails into concrete and can greatly expedite the process while maintaining precision and accuracy.
However, for smaller tasks or situations where power tools are not readily available, mastering the skill of driving nails into concrete by hand is invaluable. It allows you to work in situations where power tools are not practical or accessible, giving you the flexibility to accomplish your goals with minimal equipment.
As with any skill, practice is key. The more you practice driving nails into concrete by hand, the better you will become at controlling the strikes, maintaining accuracy, and achieving the desired depth. Over time, you will develop a feel for the concrete and understand the level of force required for different scenarios.
In conclusion, driving nails into concrete by hand is a skill that can be learned and mastered with the right techniques, tools, and practice. By following the steps outlined in this article and prioritizing safety, you will be well-equipped to complete a wide range of projects effectively and securely. So, grab your tools, take the necessary precautions, and confidently tackle your next concrete-based endeavor.
To see other material construction prices, please see here.
To know other construction guides, tips, and methodology for beginners, veterans, and contractors, please see here.