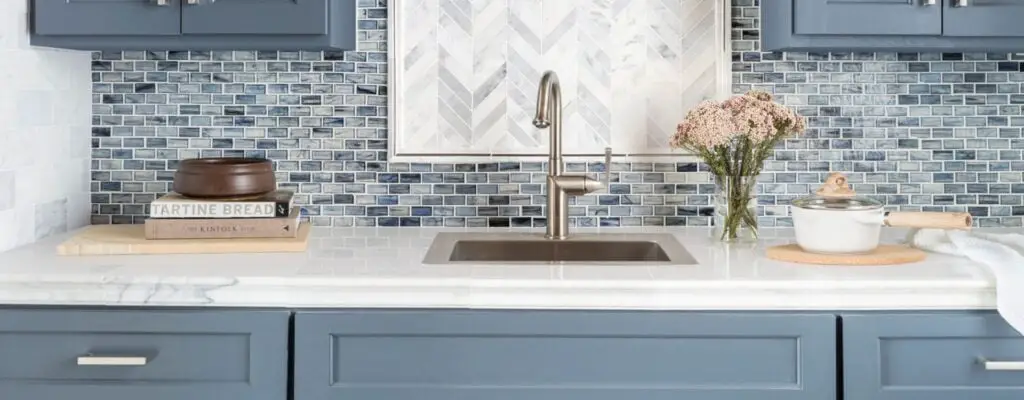
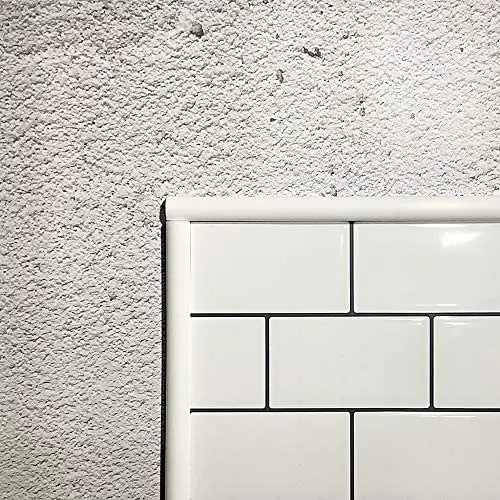
A tile trim is used to finish the edges of a tiled area, commonly corners, where without an option such as mitring, you will be left with an exposed tile edge, which can be damaged and generally give the appearance of being unfinished. Tile trim aids in the completion of your tiling project. It not only gives you a professional finish, but it also helps to conceal rough edges or corners that could create a hazard.
CUTTING YOUR TRIM
Trim must be trimmed to fit around corners of tile in some parts of your project. For instance, if you intend to trim around a window. If so, you’ll want to make a tile trim frame to go around the window’s lip. When making your cuts, we recommend cutting the corners at a 45-degree angle so that the various pieces fit together neatly and create a clean finish.
Place the trim in a mitre block and determine the angle to cut your trim at. We propose using a junior hacksaw or anything similar to cut. Confirm the angle you want to cut your trim at using the assisted gaps.
Make a mark where the cut should be made and saw through the trim, keeping the trim steady and pressing it firmly against the edge of your block to make a clean cut.
After you’ve made two opposing angle cuts, place them against the tile, making sure both pieces of trim fit together properly.
BENDING TRIM FINISH
If you’re tiling a small area, such as a bathroom sink backsplash, or you want to avoid any sharp edges when lining up your two points, which can happen when cutting and lining metal trim, you might choose to bend your trim around the tile instead of making separate cuts.
To begin, cut your tile to size so that it is ready to be put. Measure the trim along one of the tile’s exposed sides and indicate where it meets the corner. Then, using trim snips, cut the trim at two opposing 45-degree angles (to create the appearance of an arrow or an upside-down V).
Simply align your trim against the tile again and bend the trim around the tile’s corner. Continue to mark and cut the trim as needed until you have a finished bending trim. That’s all there is to it!

INSTALLING YOUR TILE TRIM
When it comes to putting your tile trim, mix your glue and apply it with a notched trowel as you normally would, precisely to the area where you will be applying your trim.
Then, along the edge of your area, push your trim into the bed of the glue, making sure the trim is kept in place with the adhesive.
Finally, continue to put your tile onto the surface, making careful to apply adhesive to both the front and back of the tile before applying to the trim to achieve a good bind between tile and trim.
If this is going to be a wet location, such as a shower niche, make sure there is a 2mm gap between the trim and the tiled edge. This will allow you to properly grout the area, making it more watertight and eliminating the possibility of water getting in between your trim and tile.
To see other material construction prices, please see here.
To know other construction guides, tips, and methodology for beginners, veterans, and contractors, please see here.
To know the flood prone areas in the Philippines, Top 10 Flood-Prone Areas to Live in the Philippines.
To know more about Concrete Hollow Blocks, Simple Reasons Why Hollow Blocks are Highly Used in the Philippines

